See before you decide
Your documents, your access, your keys: the journey explained.
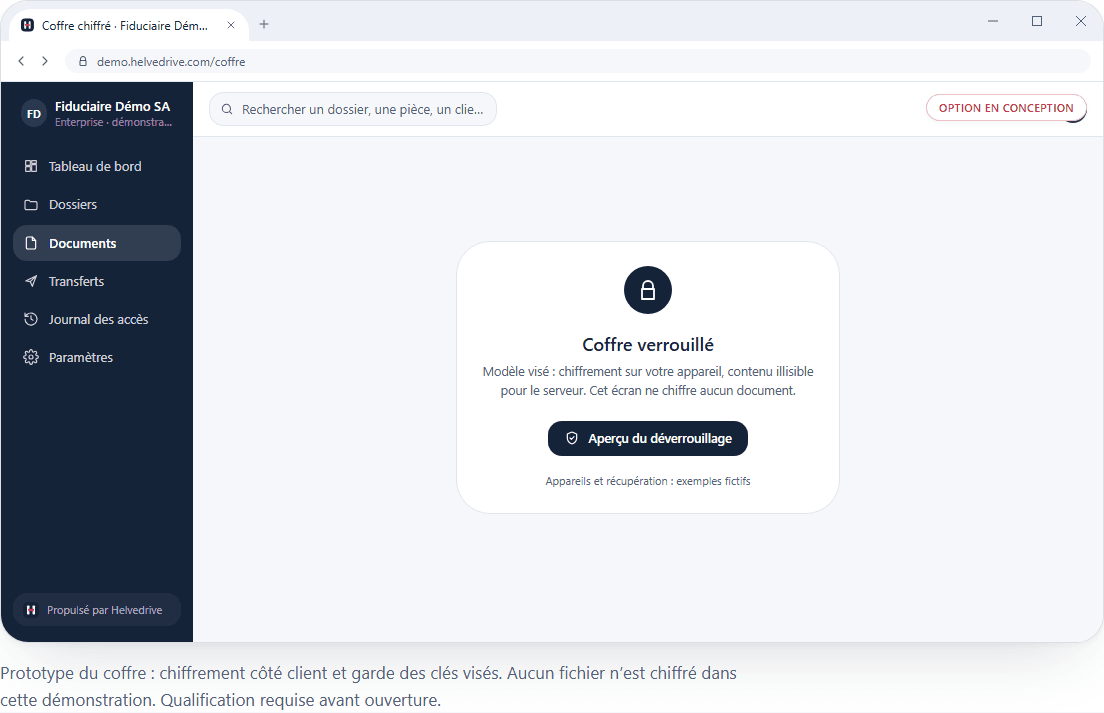
The screenshots below come from the current demo interface, with sample data. The vault is a prototype still being designed; these screens are neither proof of encryption nor a production interface.
The planned journey of a vault document.
The architecture separates three stages: encryption on your device, storage with Infomaniak in Switzerland and viewing on an authorised device.
1. Your device
Authentication, authorisation and client-side encryption with keys controlled by your organisation.
2. Swiss storage
Transfer and storage of the encrypted files. In this architecture, neither Helvedrive nor the hosting provider decrypts documents.
3. The authorised device
Rights are checked and the required keys retrieved. The document is decrypted locally for viewing.
Account and keys are separate. Server-side AI does not read the Vault. Residual metadata, software delivery and devices still need to be examined.
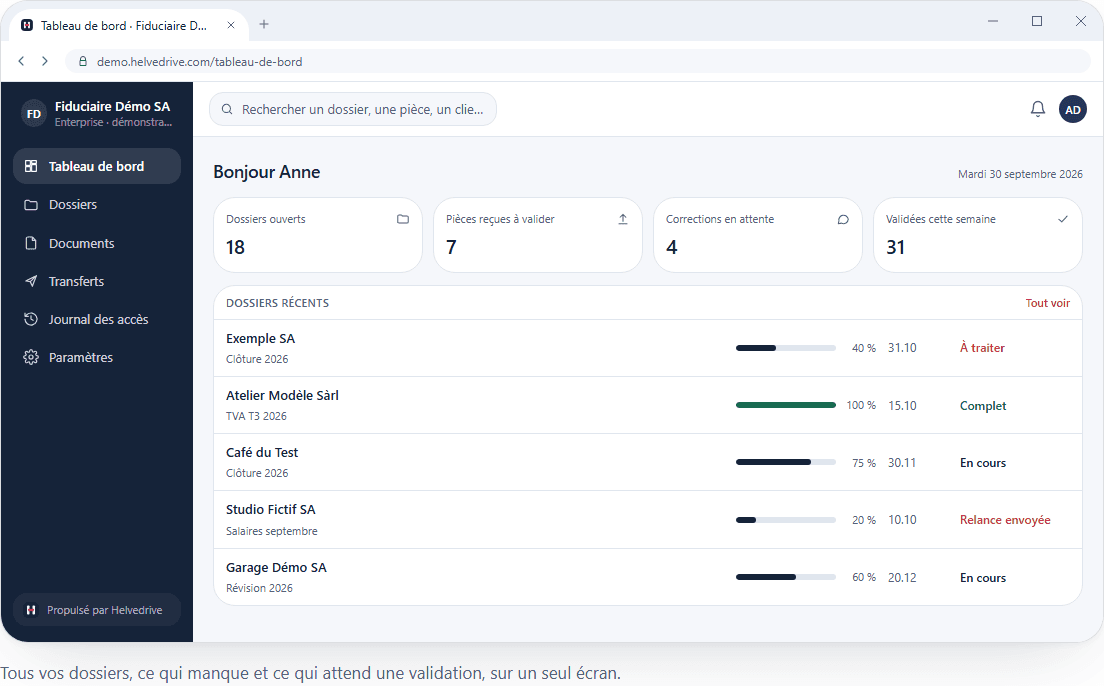
Screen 1 · Demo
Oversee client files and access
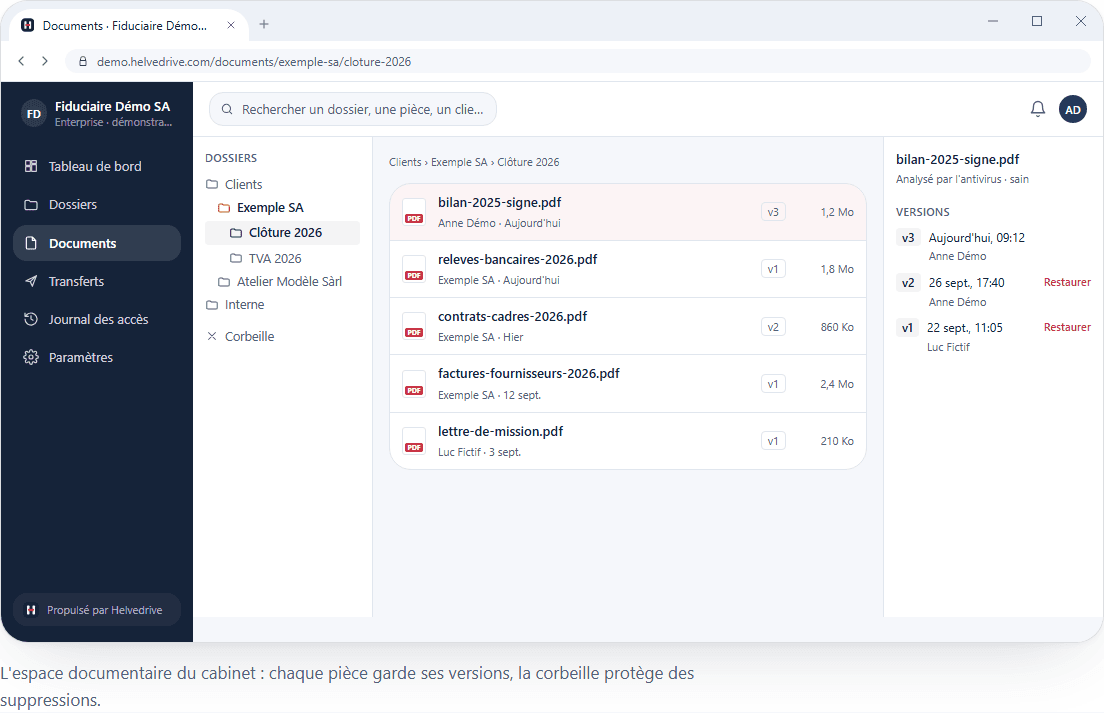
Screen 2 · Demo
Organise documents and their permissions
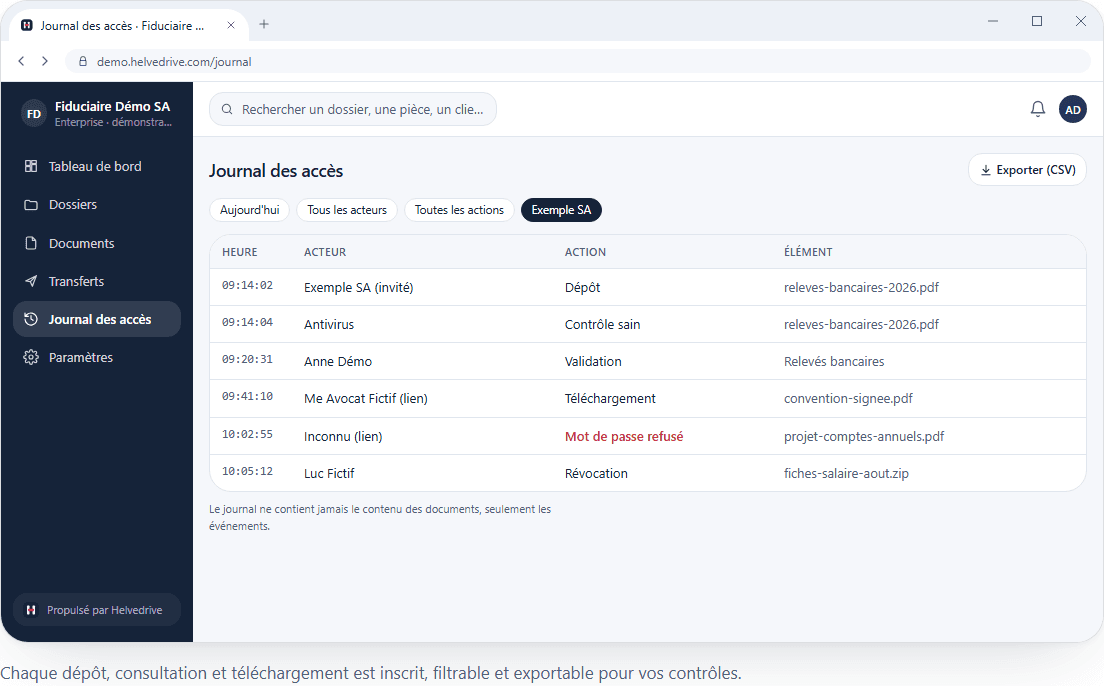
Screen 3 · Demo
Show who did what
Screen 4 · Demo
Keep the vault separate from collaboration
From scoping to go-live.
- 01
Identify sensitive documents and authorised people
- 02
Test the pilot with sample data
- 03
Qualify keys, backups and integrations
- 04
Sign off the scope, then go live after the checks
Scoping in confidence
Let’s define the scope of your protection.
Team, sensitive data, keys, location and recovery: let’s discuss your requirements. Please do not send any confidential documents through the form.